
 Click here to see all of our Software Training Courses
Searching through hundreds of websites to find a decent template to use for your document can be time consuming and stressful.
Many different websites ask you to ‘sign up for this free template’ or ‘pay X amount of money each month’, its hard to know which ones to settle for.
To combat this occasional battle, I will teach you how to create a simple, yet professional document in InDesign. These can be reports, certificates, workbooks etc. Using tools in InDesign provide the foundations of creating a sleek, easy to read, easy to print functionality with the flexibility to be transferred electronically.
Pages
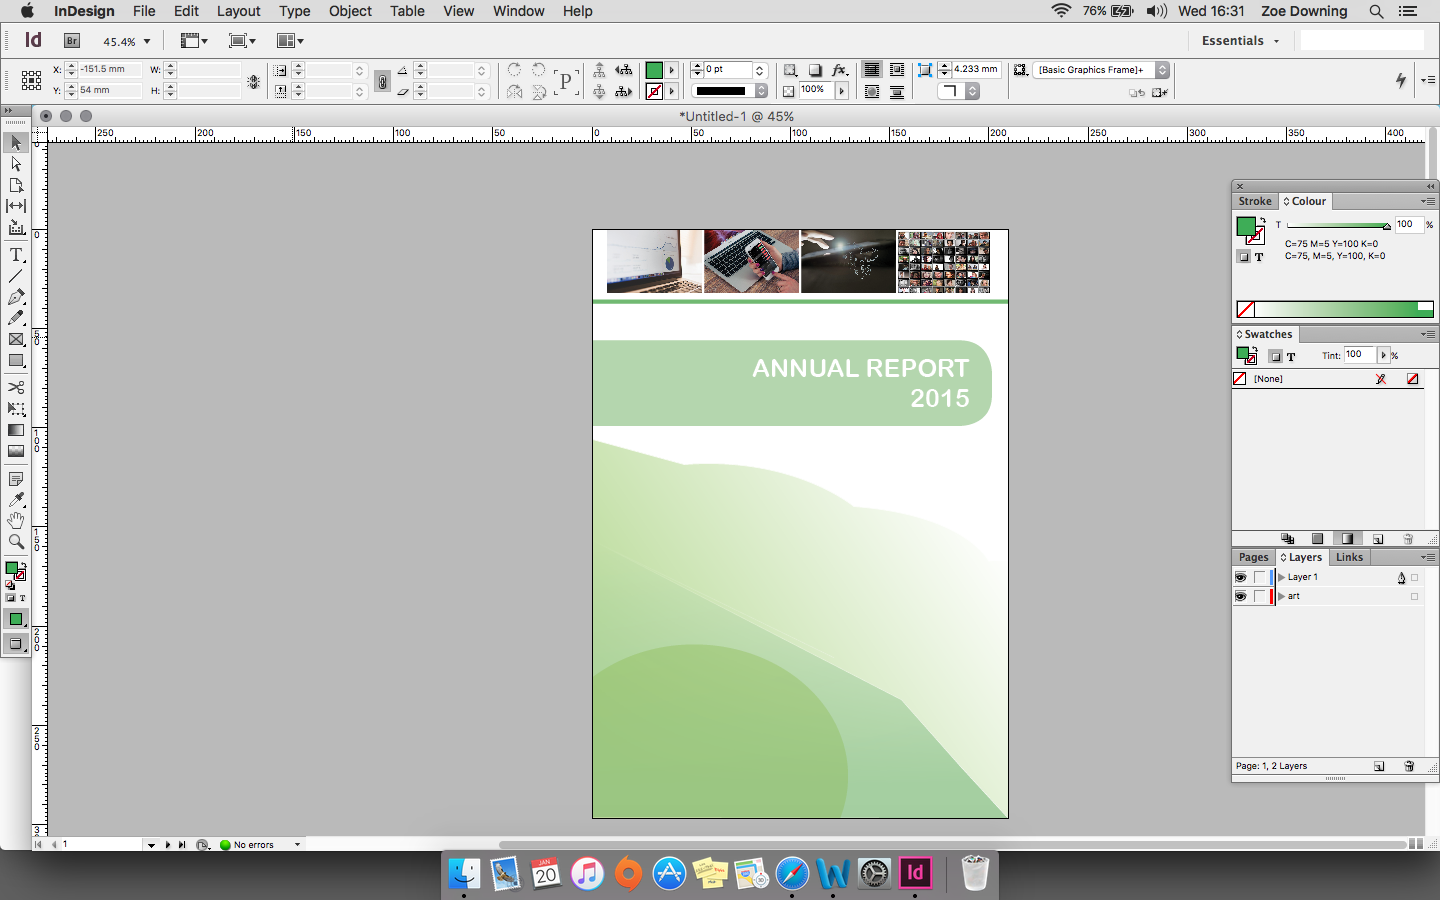
One of the most important tools in InDesign is the pages panel located on the bottom right hand side of the window. This panel allows you to create Master Pages that act as a mirror for the rest of the pages in the document.
With Master pages, you can create frames, objects, graphics etc and correspond them to other pages in the document. This can be a very handy tool when creating a document with similar pages or a document serving functionality rather than design.
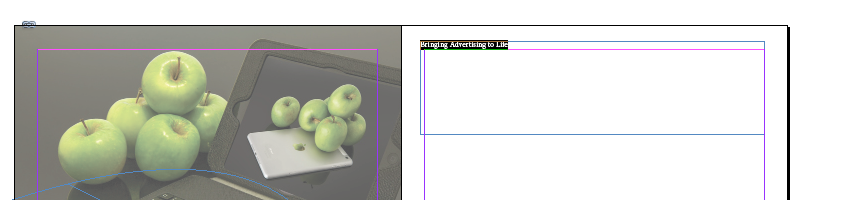
As an example I have created a double page spread on the Master Pages tab within the pages panel, I have then made a new spread within my document on the pages tab. By copying over the master page onto the new spread, it has copied the exact information within the Master onto the new pages.
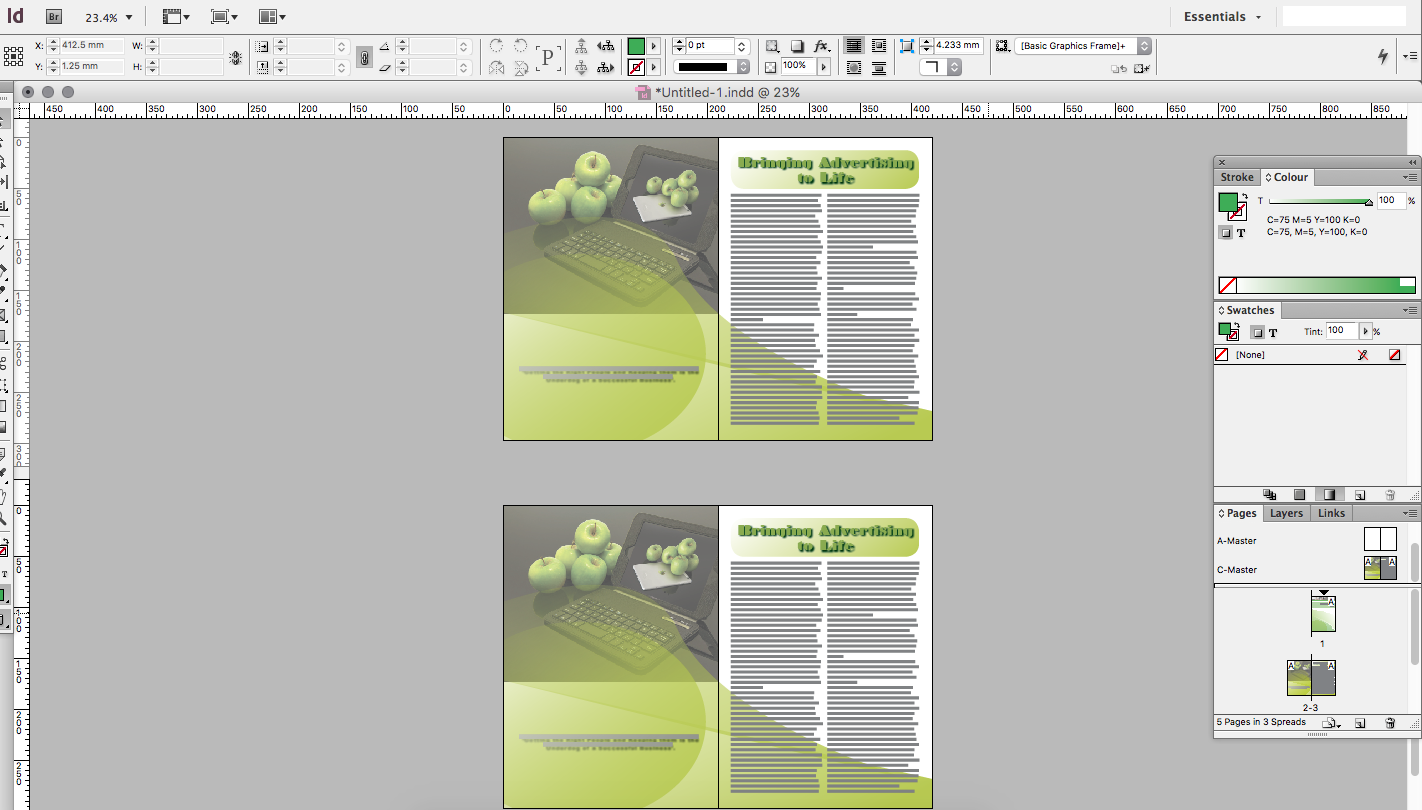
This saves a lot of time and the elements on the new page are editable, therefore allowing you to change the colours or replacing images without affecting the master page.
If you have a made up master page already and are able to load it into the document, you can use this master template time and time again.
Frames, Shapes and Images
The frame tool is used as a carrier for your graphics/images and text. To create a frame, simply click on the rectangular symbol with a cross inside it, located on the tools panel on the left hand side of the window.
Start to draw the rectangle onto the document. If you wish to add an image or graphic into the frame, simply click on File > Place. The cursor will morph into a brush symbol with the desired image minimised next to it.
Click in the frame, the image will place itself inside the frame, however if you have a large image, only part will be shown inside the frame. To fix this simply right-click and Fit Frame Proportionally or click on the circle inside the middle of the frame, orange resizers will appear, use these to downscale the image, holding Shift will constrain the proportions counteracting stretching.
Your first image is placed in the document. Not too confusing so far.
Lets have a look at shapes. There are plenty of vector/stock image sites out there for free. You can use these if your not the arty type rather than creating a design from scratch.
For this, I have used the Pen Tool located on the tools panel. The pen tool requires a lot of practice and patience.
When drawing a line with the pen tool, it is important to remember that you are creating paths. Click on the page of where you want to start your shape design. A dot will appear, when clicking in another area on the page, a second dot will appear and joins with the first. Simple right?
But what if you want curves? For this, click on the document so you see the blue dot. Next, drag your cursor from the dot just above it, then click on the page in the direction you want the line. Notice how the line now curves depending on the placement of the dragged line.
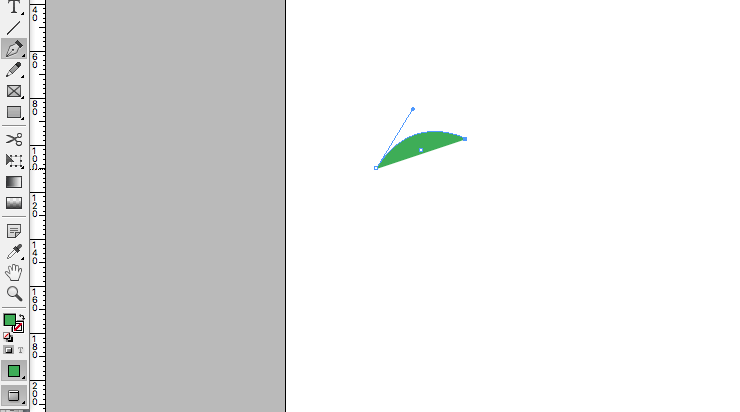
The fill option at the top of the window was set to a green fill, to turn this off simply click the dropdown menu on the options bar, located next to the fill box, to have no fill simply click None however make sure the Stroke option underneath the fill box is set, otherwise it could make it a whole lot tougher.
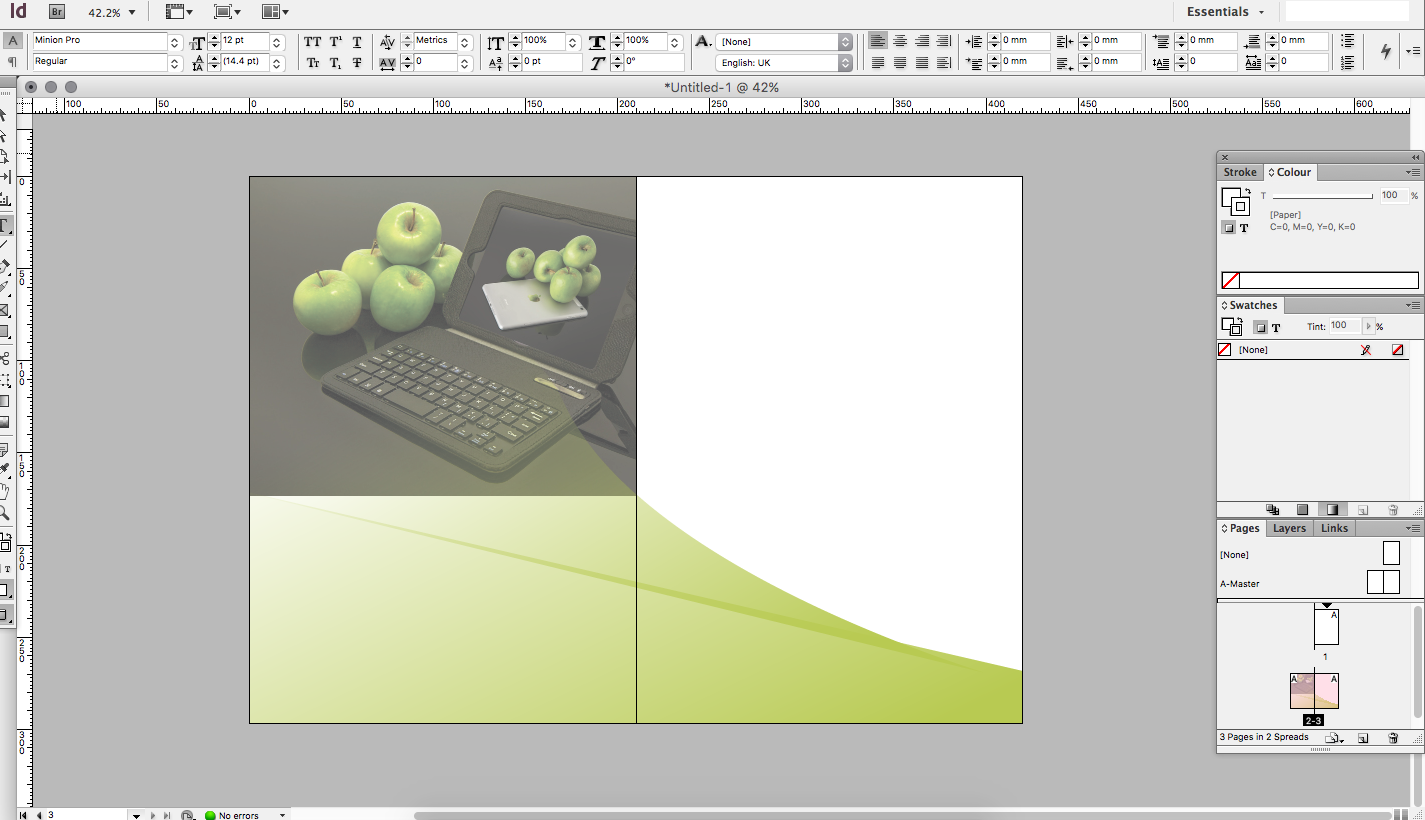
Using the pen tool (keyboard command P) I have created this sleek effect running through the spread. By combining shapes and changing the opacity, (this can be done through the transparency menu located by either right clicking on the targeted shape and clicking effects > transparency, or by navigating to the top of the window and clicking object > effects > transparency),
It helps give that professional design.
I have also used the gradient tool (keyboard command G), which can be found on the tools panel. Simply select the colour of the tool using the swatches tab or the Eyedropper Tool (Keyboard command I).
If your having trouble with certain elements in the document being either too far back or forward, simply right click on the shape/text, on the dropdown box select arrange and bring to front/send to back.
Adding Text
To add text simply navigate to your tools panel, approximately 1/3rd of the way down, there is a T symbol. This can also be selected using keyboard command, T.
Next, a frame box will appear asking you where on the document you want to place the text. I started with the title. Draw out your text box.
Highlight the written text, on the options bar located at the top of the window, you will notice is now presenting type options. This includes font, spacing, sizing, arrangement, paragraphing options, colour etc.
I decided to use the font Braggadocio for this example. I thought it looked slightly bland on the page, therefore I added colour using the dropbox menu on the options bar, to customise the colour of the font. Rather than using preset colours, either hold down the shift key when clicking the colour box, or use the swatch panel located at the bottom of the tools panel. You can also create your own swatches.
I also added shadowing to the text. This can be done via the options bar and clicking on the fx symbol, or by right clicking on the text and choosing effects > dropshadow. This menu gives you control over your shadow such as distance from text, colour of the shadow, size and spread.
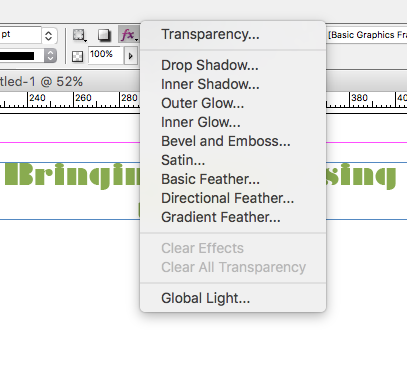
Many other options can also be seen within the drop box, experiment with these and see which ones you like.
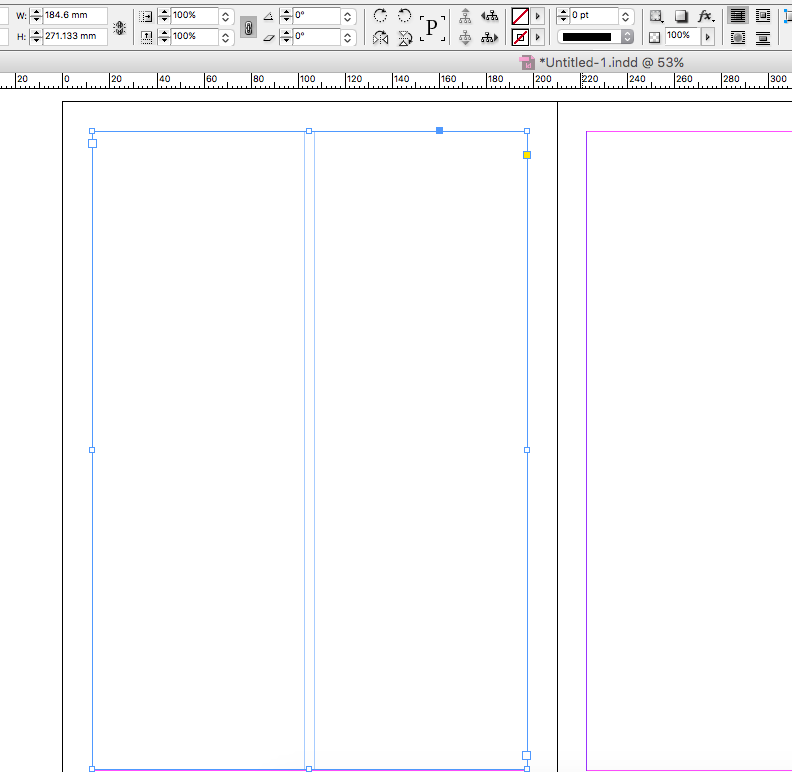
Next, I needed to create columns for my body text. To do this, select the Type tool, create a box where you want the text to appear. Go back to the selection tool (keyboard command will not work when type tool is active), click on the box and at the top of the window on the options bar, click the amount of columns you wish to embed. This will split the box in however many columns you choose.
Tables
To insert a table, select the Type Tool (keyboard command T), draw the text frame and at the top of the window click Table > Insert Table.
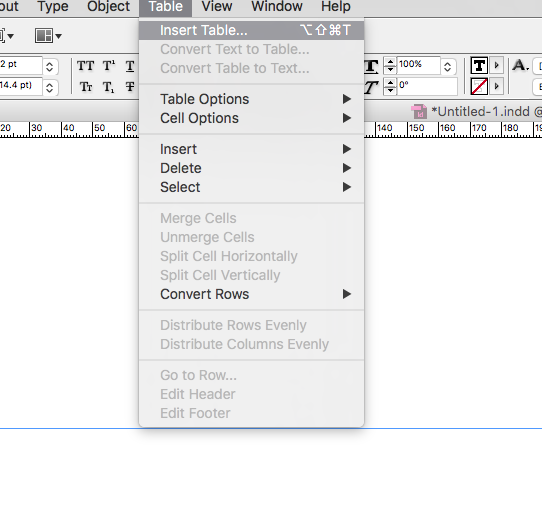
A dialogue box will appear, this contains the set amount of rows and columns. Set this to how you desire.
The table will now appear, simply edit your data. To change the colour of your table, use the fill box on the options panel.
Exporting for Print
If you are printing this yourself from a standard printer > Click File > Export.
A box will appear, enter the name of the document and the intended export format, Adobe PDF Print, you will then see an export box. From the drop down menu as shown below choose High Quality Print.
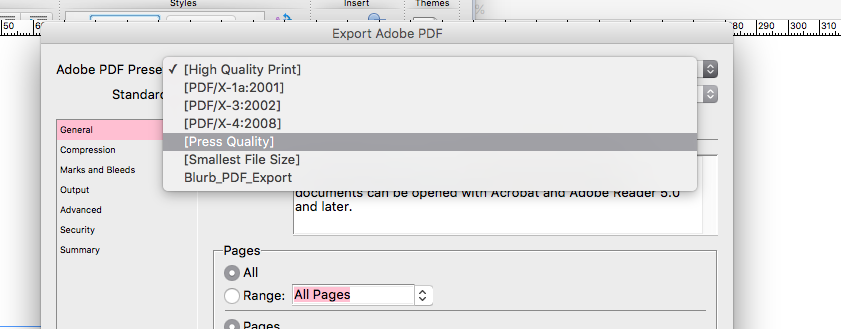
If this is a document that will be passed on for others to print, most likely from a professional workplace printer, follow the same steps as before, however for the Adobe PDF Preset choose [Press Quality].
You have successfully exported your document for print. Combining the tools I have shown you and familiarising yourself with the InDesign workspace layout are fundamental to becoming fluent with the program.
Use free sites for your imaging and graphical needs, think about colours and placement.
Use images and shapes to break the document up and even quotes to get important information across quickly.
Keep experimenting and getting to grips with the various tools available such as the pen tool. This powerful program can really help spruce up that annual report or notebook.
Want to learn more about Adobe products and training? We offer courses for all skill levels in Photoshop, Illustrator and more. Simply scroll down and either book your first lesson or have a look at what we have to offer. We hold regular workshops and even offer the option to come to you – if you’re really busy we also offer online training.
Get in touch today on 01332 986924 or drop us an email at info@creativestudios.co.uk.