
 Click here to see all of our Software Training Courses
Despite living in a digital world, a professional business card can be critical to the development of your business.
Business cards are an effective way of getting your name out there and to connect with business prospects. So play your cards right (pun completely intended) and you could save money, build your brand and become better known in your niche.
In this step-by-step tutorial, I’ll show you how to make your very own simple marketing pocket rocket, including using shapes and paths, placing images and logos and changing text and sizing. This is ideal if you’re just starting out on your entrepreneurial journey and don’t have much in the way of startup funds to pay for design and print work.
Opening a New Document
Open up a New Document in Photoshop. In the task box, select Custom from the drop-down menu named Preset:
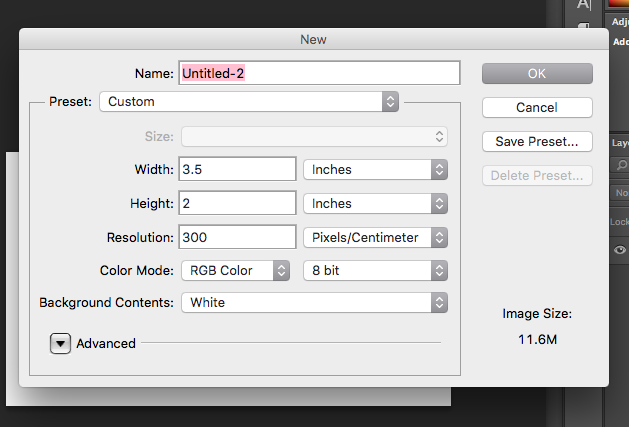
In the Width box, choose 3.5 Inches and 2 Inches in the Height box. Select OK.
Using Fill Colour
Here you have a few options, you can leave the background white, or if you prefer, change the colour. To do this, simply navigate to the bottom of the layers panel and click the half-white/half black circle symbol. From the menu choose the top option Solid Colour.
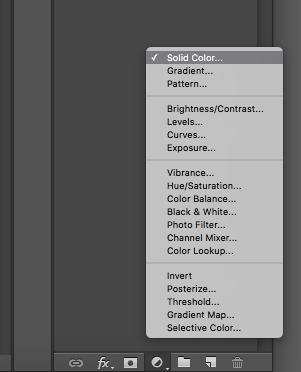
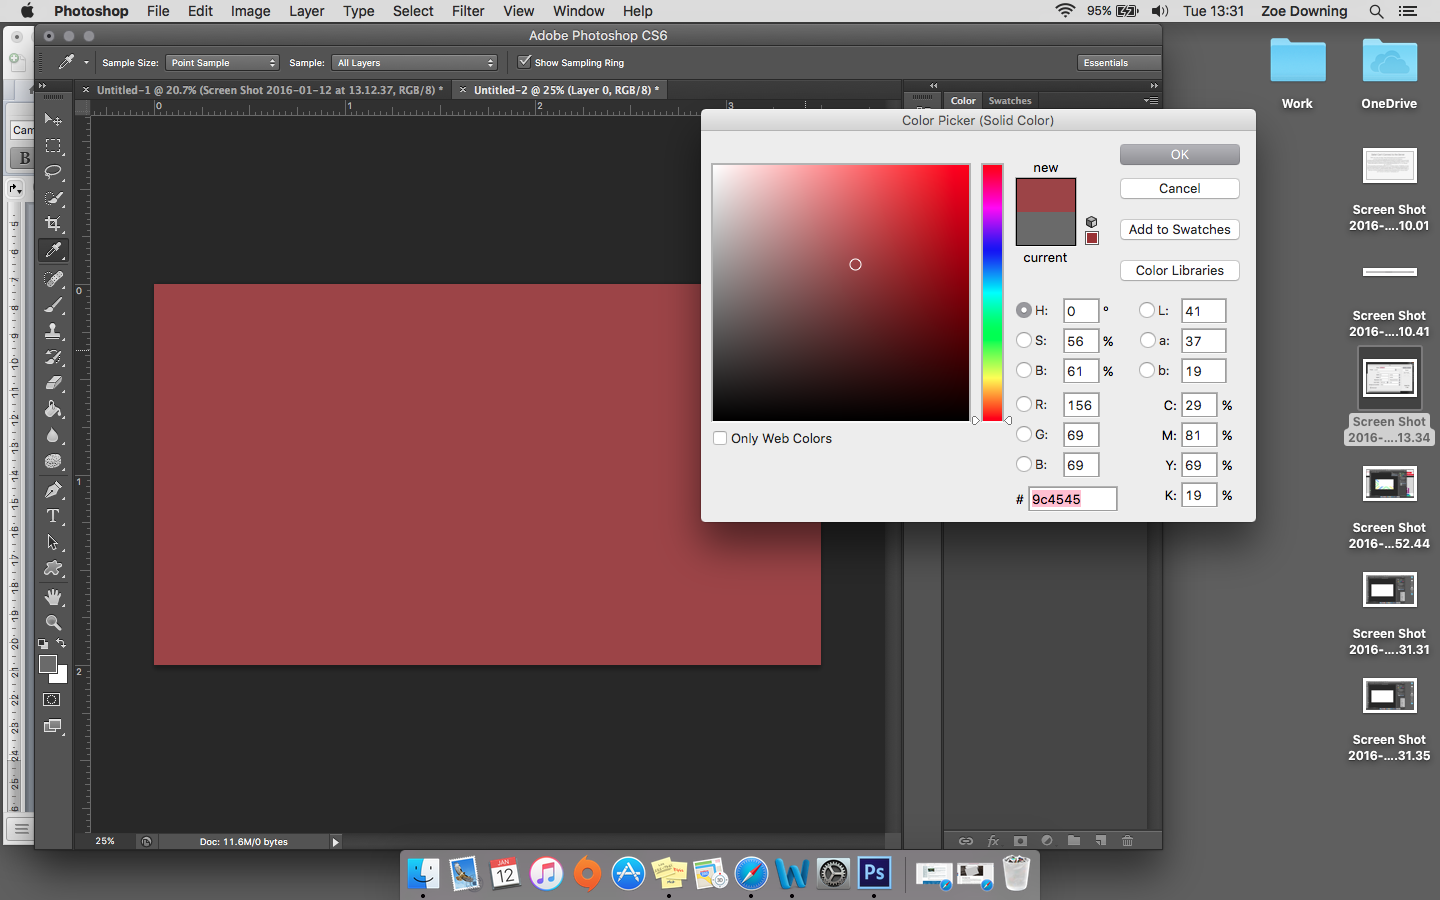
A Colour swatch will appear. Click the colour you wish to use for the background of your business card.
Another option for colouring the background is by using the Fill Tool and picking the colour you wish to use from the colour swatch bottom of the Tools Panel.
If you prefer to be a little more creative when filling in the background, you can use the Gradient Tool. This is located about half way down the tools panel.

On the options bar located at the top of the window, select the small arrow to edit the gradient.
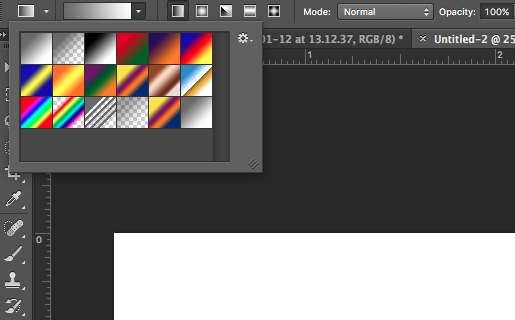
The options shows foreground to background, foreground to transparent etc. You can have the colour change to another colour when using this tool. Select the kind of effect you wish to use and select the colour from the swatches tool.
Simply drag the cursor across the page, noting the different ways the page fills with colour depending on the direction, amount, start and beginning of the gradient tool when dragged across the page.

Adding Shapes
There are already many preset shapes within Photoshop, simply click the Shapes Tool located near the bottom of the tools panel.
At the top of the window on the options bar, click the small arrow on the Shape: box, to reveal all shapes, click on the small cog symbol and click All.
Start to draw your chosen shape on the blank document.
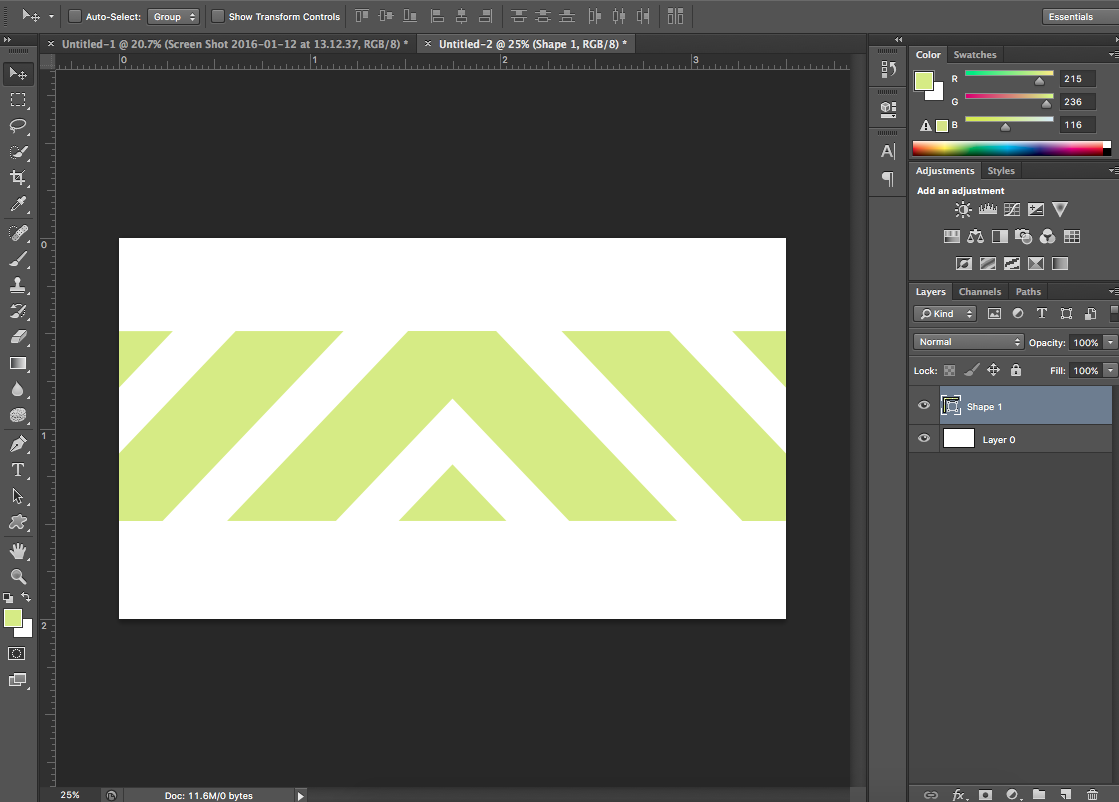
I have opted to change the colour of my shape by using the swatch tool at the bottom of the tools panel and then clicking the Fill Bucket located under the gradient tool.
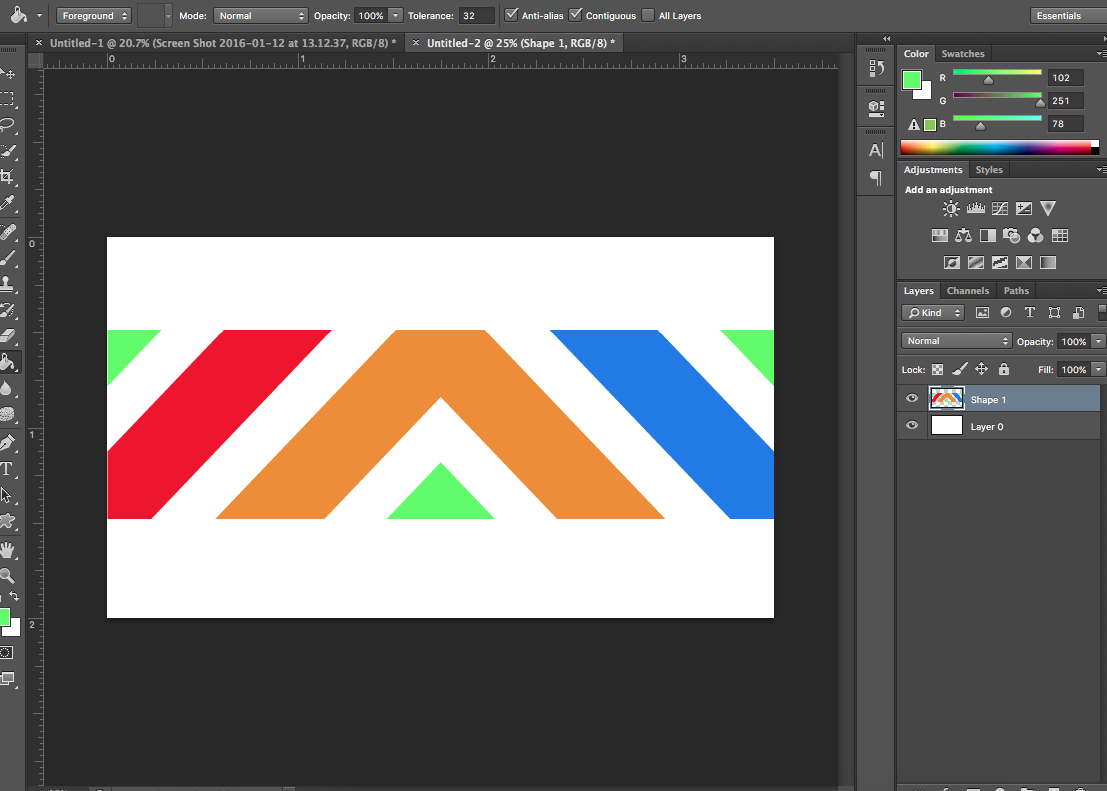
Long click the gradient tool to reveal the Fill Bucket tool.
When you begin to fill the shape, a dialogue box will pop up asking you to Rasterise the shape. Click OK and start to colour your shape.
I feel the shape is rather striking on the page therefore I take the Opacity down to around 50%. This is found on the layers tab and appears as a slider when the small arrow is clicked.
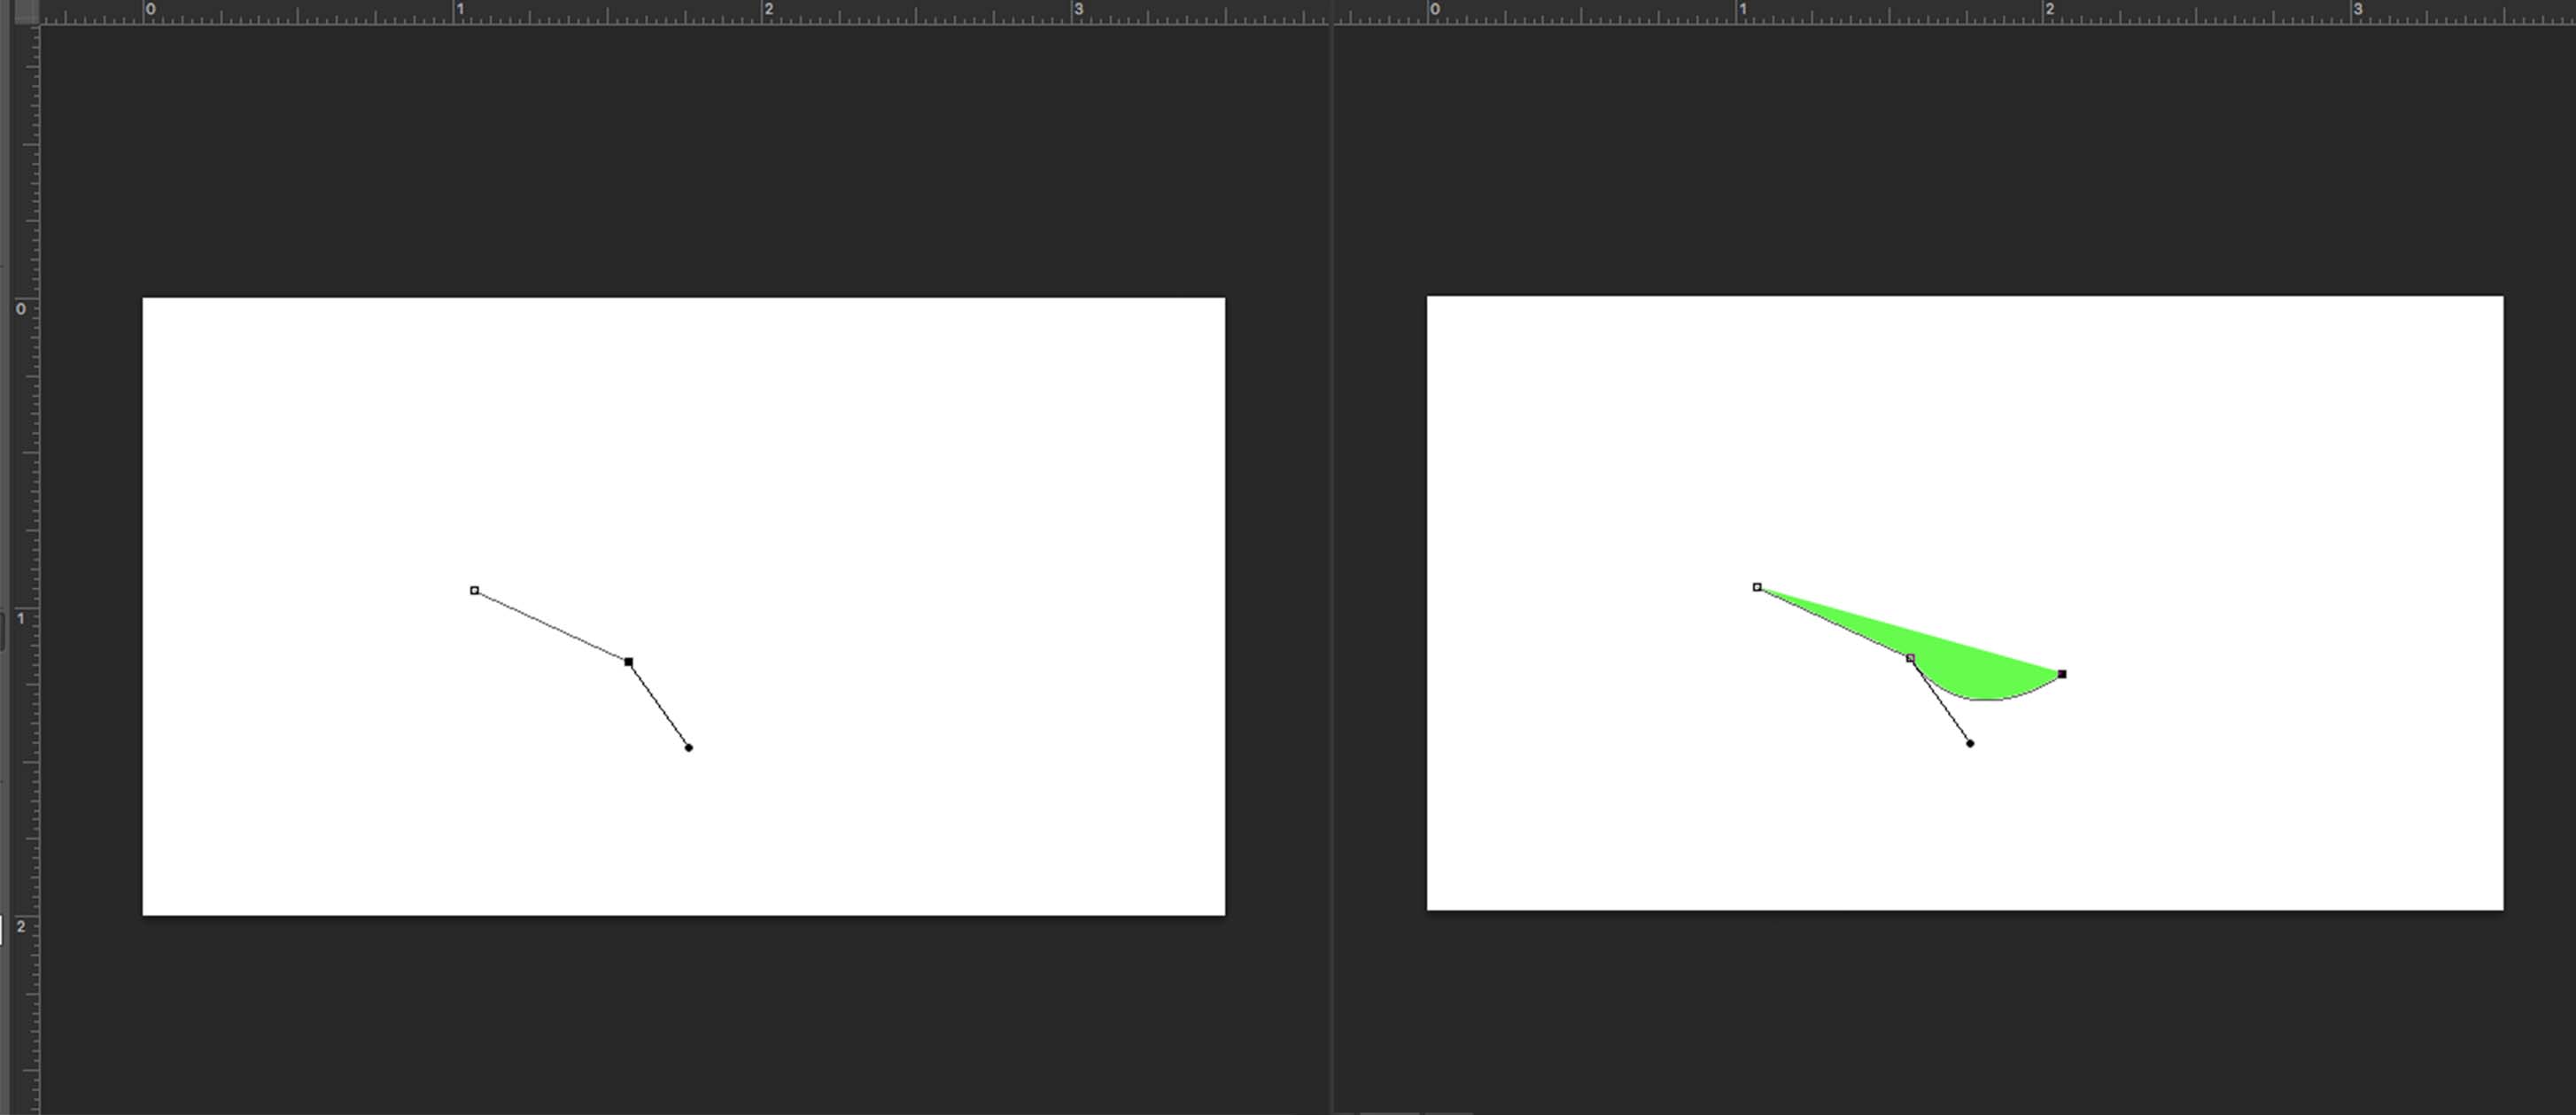
Another way of creating shapes is by using the Pen Tool found on the tools panel approximately 3/4 ‘s of the way down. You can either use the freeform pen tool that allows you to freely draw, or just use the Pen tool itself.
This tool takes some practice and getting used to but once you get the hang of it, it can be a very useful tool.
The pen tool works by creating paths, shapes or pixels; these can be selected on the options bar in the left hand corner of the window.
Start by clicking on the page, a dot will appear, click somewhere else on the page, the dots connect. To create curves, you will need to drag the point in the direction you wish the curve to go, then connect to another desired dot.
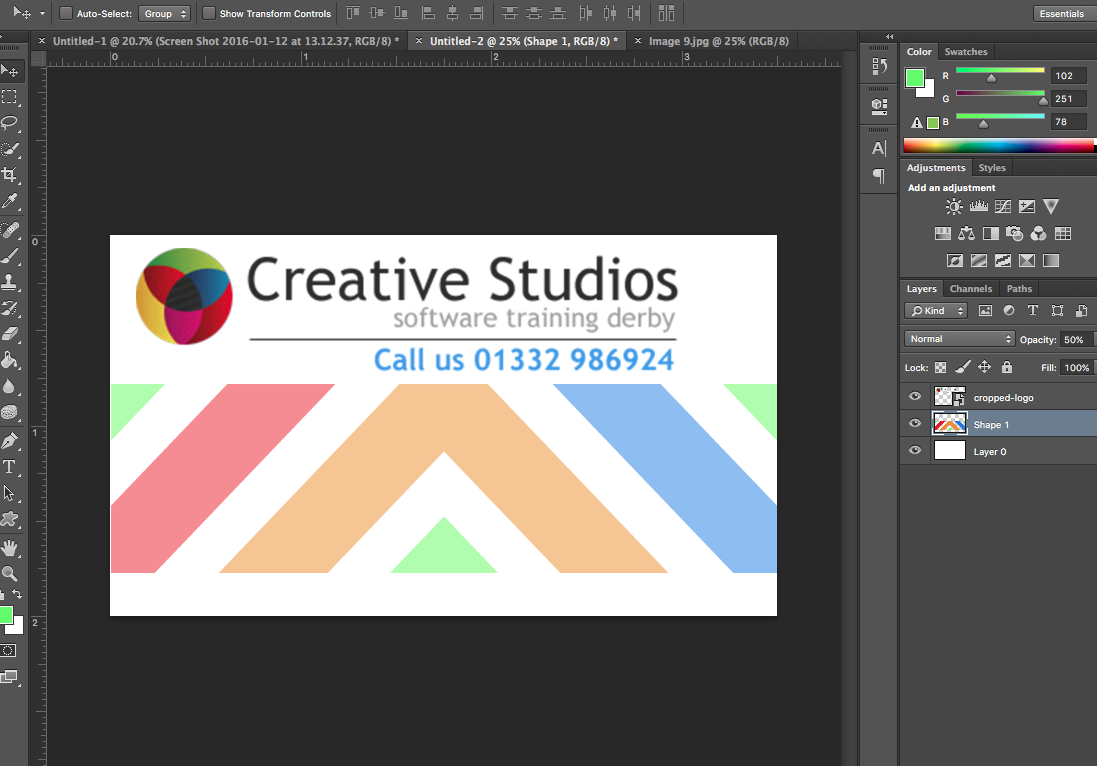
Adding Images/Logos
Select File – Place
Choose the image you wish to place, the image will appear on the document within a bounding box. Use the corner sizes to adjust the size, holding down Shift constrains the shape proportions, and avoiding stretching the image. When you’re happy with the positioning, press the return key.
If you change your mind regarding the placement, use the Selection tool at the top of the tools panel and, making sure the correct layer is selected, move the image around the page.
If you wish to resize the image but have already placed the image, simply press Command T (Control T Windows) and a bounding box will appear. By right clicking in the bounding box you can also flip the image horizontally or vertically.
Using this method, you can also add Vector Images using free stock image sites such as http://www.vecteezy.com.
Adding Text
Simply click on the T symbol on the tools panel. Click anywhere on the image, start typing.
To change the font simply refer to the options bar at the top of the window, locate the drop-down menu on the left hand side. It should be displaying the current font selected. Click the arrow to reveal further font options.
On the options bar, there is a Text Colour Box. Click on this to reveal the colour picker box and select the desired colour.
Many more options can be found on the options bar, such as resizing, bolding text, curving, and alignment options. Experiment with these to find the best look for your business card.
Finally, when printing your business card, beware of ‘printer trimming’ and allow for this when creating a new document.
So there you have it, 5 simple steps to guide you in making a creative, appealing and great marketing tool. Keep experimenting with different designs and use the internet for inspiration; you never know what you may find.
DIY business cards can look just that though, so do take your time and experiment with different ideas. Remember that your branding is the first thing that your potential customer will see and so it pays to do some research and to understand what will appeal to them. With that in mind, why not book a course with Creative Studios Derby? We can teach you how to create professional and appealing business literature that will save you cash and appeal to your clients, whilst strengthening your brand recognition.
Give us a call today on 01332 986924 to discuss how we can save you cash and teach you to create your own professional business card, whilst building your business skills bank.
This is amazing tutorial and really helpful for everyone.
It’s looking a very Professional Business Card. Thanks for sharing..
Great tutorial and easy to follow steps thanks for sharing. Very nice business card design love this site.
Very much Informative. I love your blogs and already a follower of it. I think that when it comes to Professional logo design UK so it’s very necessary for new business to have a Professional logo design UK that perfectly resembles their business and a complete designing solution to connect with its consumers.
very nice your post