
 Click here to see all of our Software Training Courses
Ilustrator is an initiative and nifty programme created for those with a love for design and graphics.
Illusrators numerous incorporated tools allow the user to create unique and intricate designs.
Logo design in Illustrator offers an array of tools, enhancing your creativity, being the best program to use for your artistic designs.
Pen Tool for Shape Design
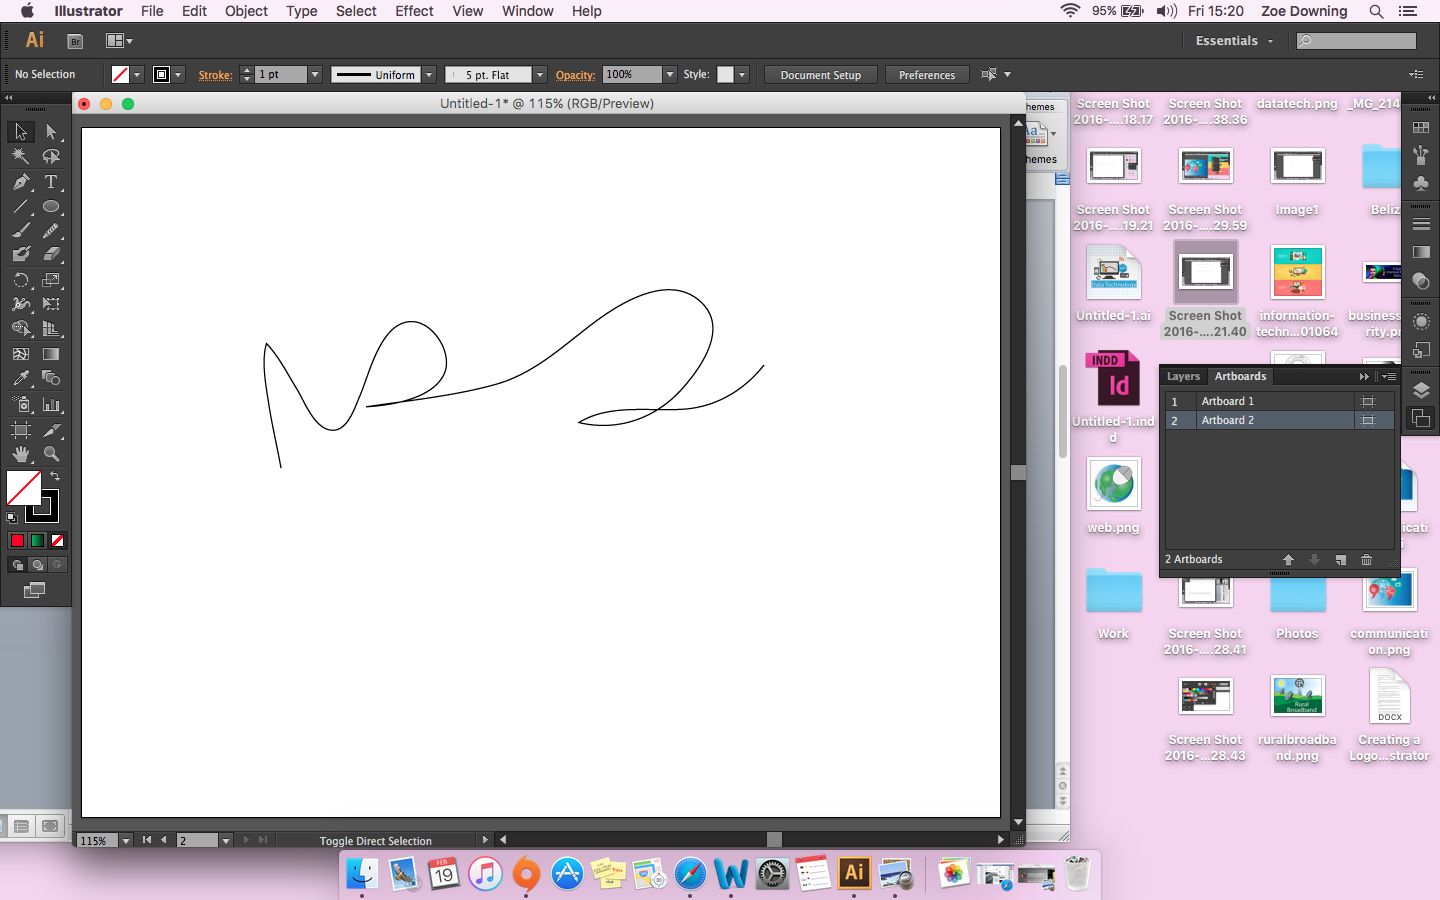
Ok so, with the pen tool requires practice, patience, practice and more practice. Undertanding the pen tool can really benefit and aid creative design.
Lets start by navigating to the left hand side on the tools panel. The pen tool is located on the left row, third one down.
Once you have selected the pen tool, click somewhere on the artboard (this is the white area of the document). Notice the black dot that appears.
Next, click somewhere else on the screen, another dot appears joining the dots together with a straight line. This is handy for creating geometric shapes such as squares, rectangles and triangles. When you’re feeling more confident try more complex shapes such as stars, hexagons and pentagons.
But what if you wanted to design a curved line? Well, this is where the complexity begins.
Again, click somewhere on the screen however this time holding down the mouse click (or pen pressure if using a tablet) and drag, notice a line appearing on either side of the dot (the dot you click is known as the anchor), the further you drag it, the longer the line will be. The small circles on the end of the anchors lines are known as handles.

The distance of the drag determines the strength of the curve. Next click again creating an anchor somewhere else on the screen, this will join the curved line to the new anchor point.
Carry on the drawing creating more anchors, when your ready to close the shape, hover over the start point anchor, a small circle symbol will appear on your cursor, this indicates the shape will be closed once the anchors are connected.
As you can see, drawing complex shapes with the pen tool is not as easy as it looks. This will take time and dedication to learning and mastering design with the tool.
As with many of the tools on Illustrator, such as shapes, brush strokes, pencil and of course the pen, you can locate the direct selection tool located on the tools panel, second row, first symbol at the top. This allows you to play with handles and anchors on the completed shape to position them in the desired way.
Pencil Tool

This tool is a freehand tool. On the tools panel, right hand side row and fifth symbol down displays the pencil symbol, click this and start by drawing a shape.
The problem one may encounter with this tool is the difficulty of creating a closed shape.
Smooth lines will also be difficult to achieve when using the pencil tool, however this can be fixed. Click the pencil tool however this time long holding the mouse click, this will reveal the hidden tools.
Underneath the pen tool indicates the smooth pencil tool. When you have drawn a shape with the pencil tool, trace over the path (referring to the line of the pencil), and notice the pencil path becoming smoother.
Shapes
If wishing to use simple shapes, there is a tool for this. On the tools panel, select the rectangle tool located on the right hand row, fourth one down.
By holding down the mouse click on the rectangle tool will reveal further shapes such as ellipse, star, rounded rectangle, polygon and flare.
To constrain the proportions of a shape, simply hold down the shift key when drawing the shape.
Working with Colour
When creating shapes with the various tools available, you can adapt the colour of both the stroke (being the outline of the shape) and the fill.
To do this you can either locate the swatch at the bottom of the tools panel or by navigating to the top of the options bar.
When using the swatch notice the two boxes containing one solid colour, defaulted as white, and the stroke box located underneath the fill defaulted at black.
To change the active swatch, click the small double-sided arrow located just above the swatch boxes.
When a shape is selected, change the fill or stroke by either double clicking and locating the colour with the colour picker window, adding colour numerical values, or navigating to the right hand side of the window and clicking the swatches panel located at the top. It is possible to expand this panel by dragging the bottom of the panel downwards.
Text
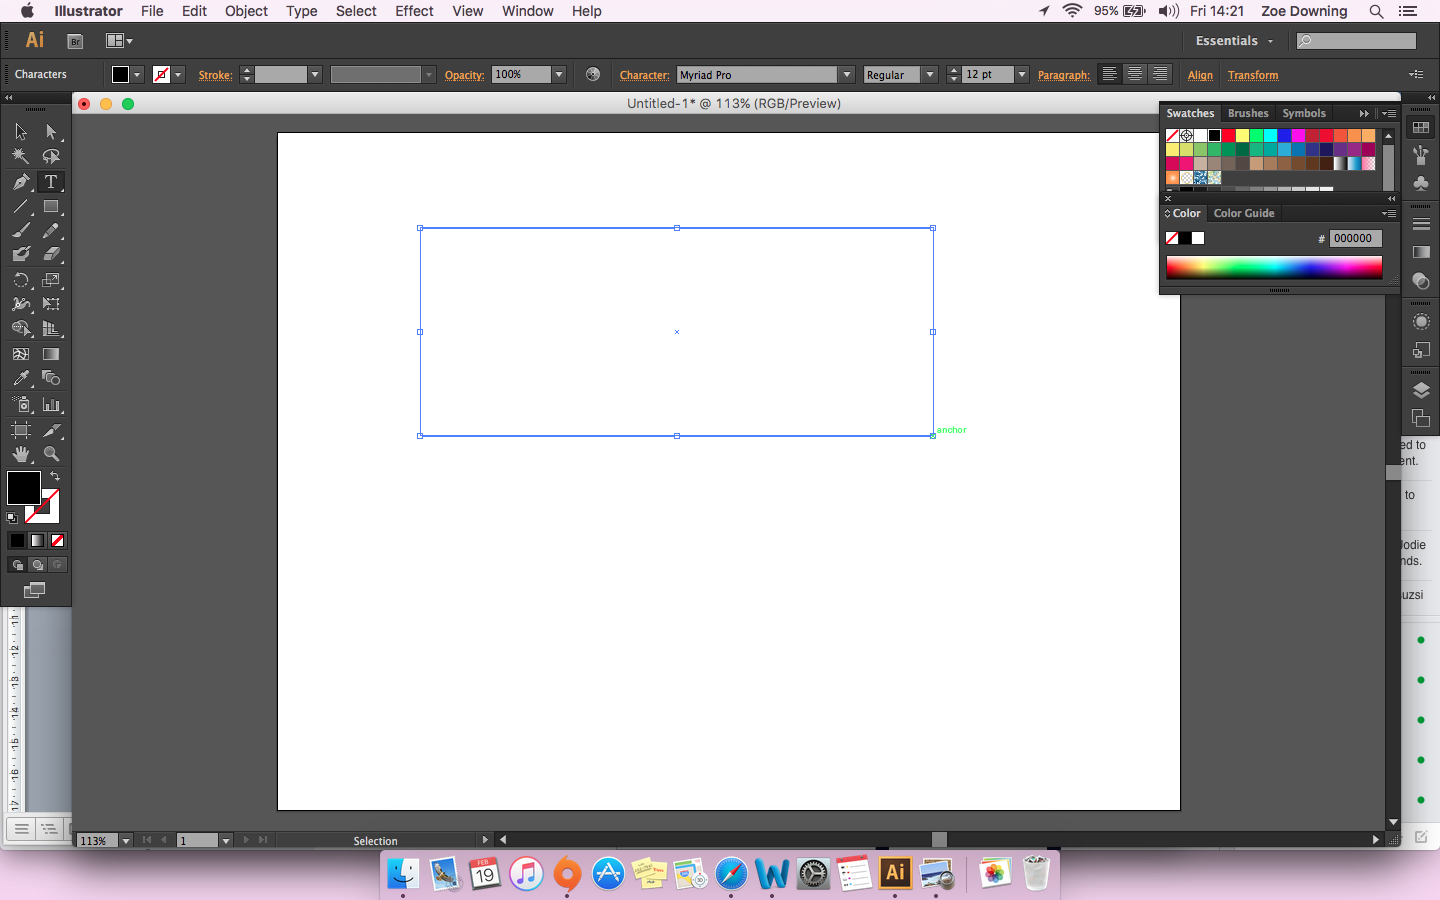
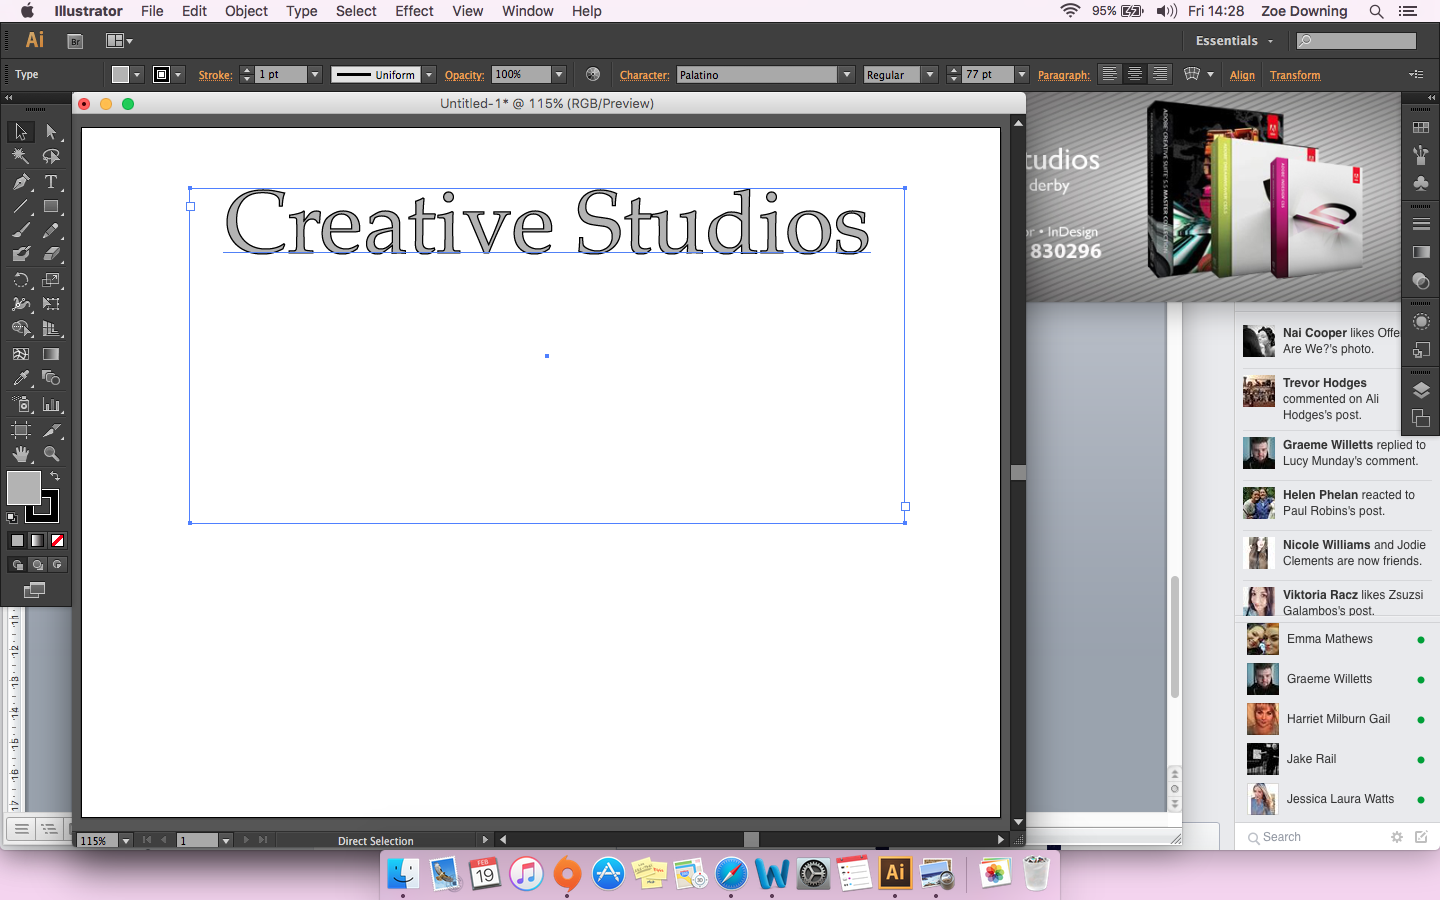
To add text, locate back to the tools panel on the left hand side of the window. The T symbol is located just above the shapes tool.
You can either click once on the document to start typing or drag the tool to create a text box.
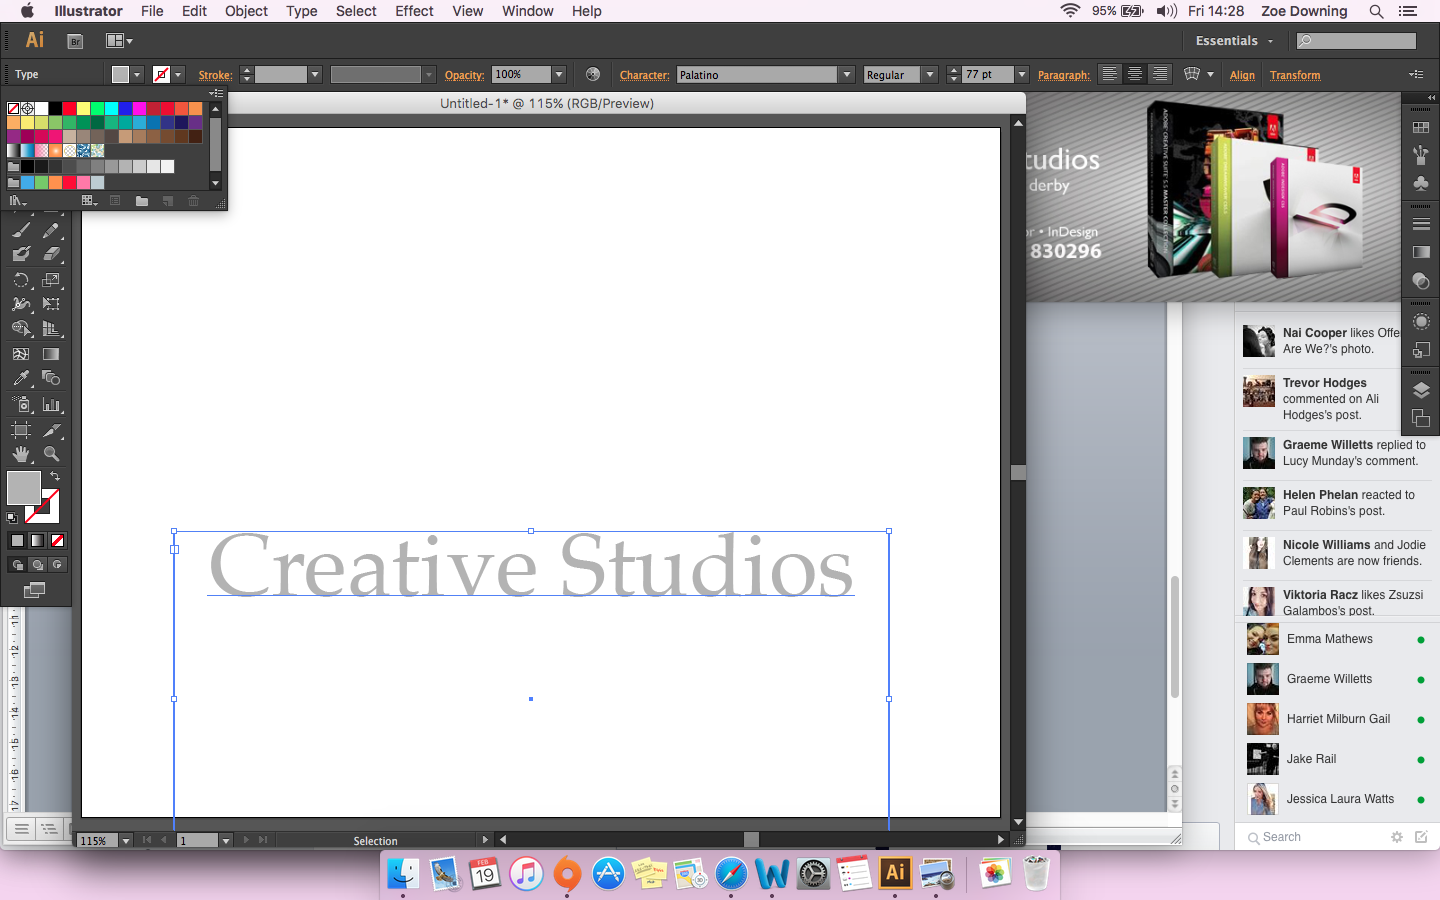
To change the design font, size, spacing and colour, navigate to the options bar at the top of the window. You can also change the stroke weight of the text making the outline around the text thicker.
To change the stroke to the off position, click on either the swatch at the bottom of the tools panel, or locate the small colour box, left hand side on the options bar. Select the white square symbol containing a diagonal red line. The colour has now switched to off.
To resize or rotate the text box click on the selection tool that appears as a black mouse cursor symbol at the top of the tools panel located next to the direct selection tool.
Notice the various small squares appear around the text box, use the corners to resize the box. By hovering slightly further from the corner of the box, the cursor will change to a double-sided arrow indicating the ability to rotate the box.
If you are feeling especially creative and design heavy, you can create a drop shadow effect behind the text. Make sure the text box is selected, locate the menu bar at the top of the window and select the effect drop down menu.
Select stylize and drop shadow.. the dots denote more options appear when clicked.
A task box will appear. Click the preview tick box to see the effect change to the text while adjusting.
Here you can adjust the distance, opacity, blur and direction of the shadow, this effect can also be applied to shapes too.
Finally, by utilising these tools and familiarising yourself with the various features Illustrator has to offer gives you the ability to get your creative hat on and create some intriguing and eye opening designs.
One thought on “Design a Logo in Illustrator”