
 Click here to see all of our Software Training Courses
The Why’s and What’s?
Lets start by answering this question – why use Adobe Voice for business?
The first bit of good news is that this nifty little app, is free! And by the looks of things that will not be changing anytime soon.
The Adobe Voice interface is quick and easy to use, enabling you to create simple presentations and/or introductions in minutes. This can be hugely beneficial when pitchng a client on the latest products and services that you offer, or for that dreaded board meeting where it’s necessary to create simple, informative presentations to impress the executive members.
Presentations are engaging and creative, therefore drawing the client’s attention, who can soak up more information than if someone simply stood stationary reading off a screen or series of cards. What’s more, this can all be done from an iOS device, making it easier to be more personable and engaging with the client you’re presenting to.
You may be thinking ‘why switch from PowerPoint or Keynote that I use on a regular basis and learn a whole new program?’
Adobe Voice is also based on the premise of being fun to use. This means lots more productivity for you. Instead of seeing it as the grueling process of creating a business presentation, it’s a more hands on and enjoyable experience. There are a variety of ready-to-use templates and graphics to incorporate into your video, as well as being able to explore the video database for inspiration; moreover, it’s your voice telling the story, enabling you to emanate passion through speech.
Additionally, if you felt like expanding your videos to more than that of 5 minutes this software allocates, it is easily transferrable to Premiere or iMovie.
It’s an intuitive and creative app and can make all the difference to promoting ideas and values, presented to either a small group of people, or the big wide world.
Getting Started
Let’s open the App.
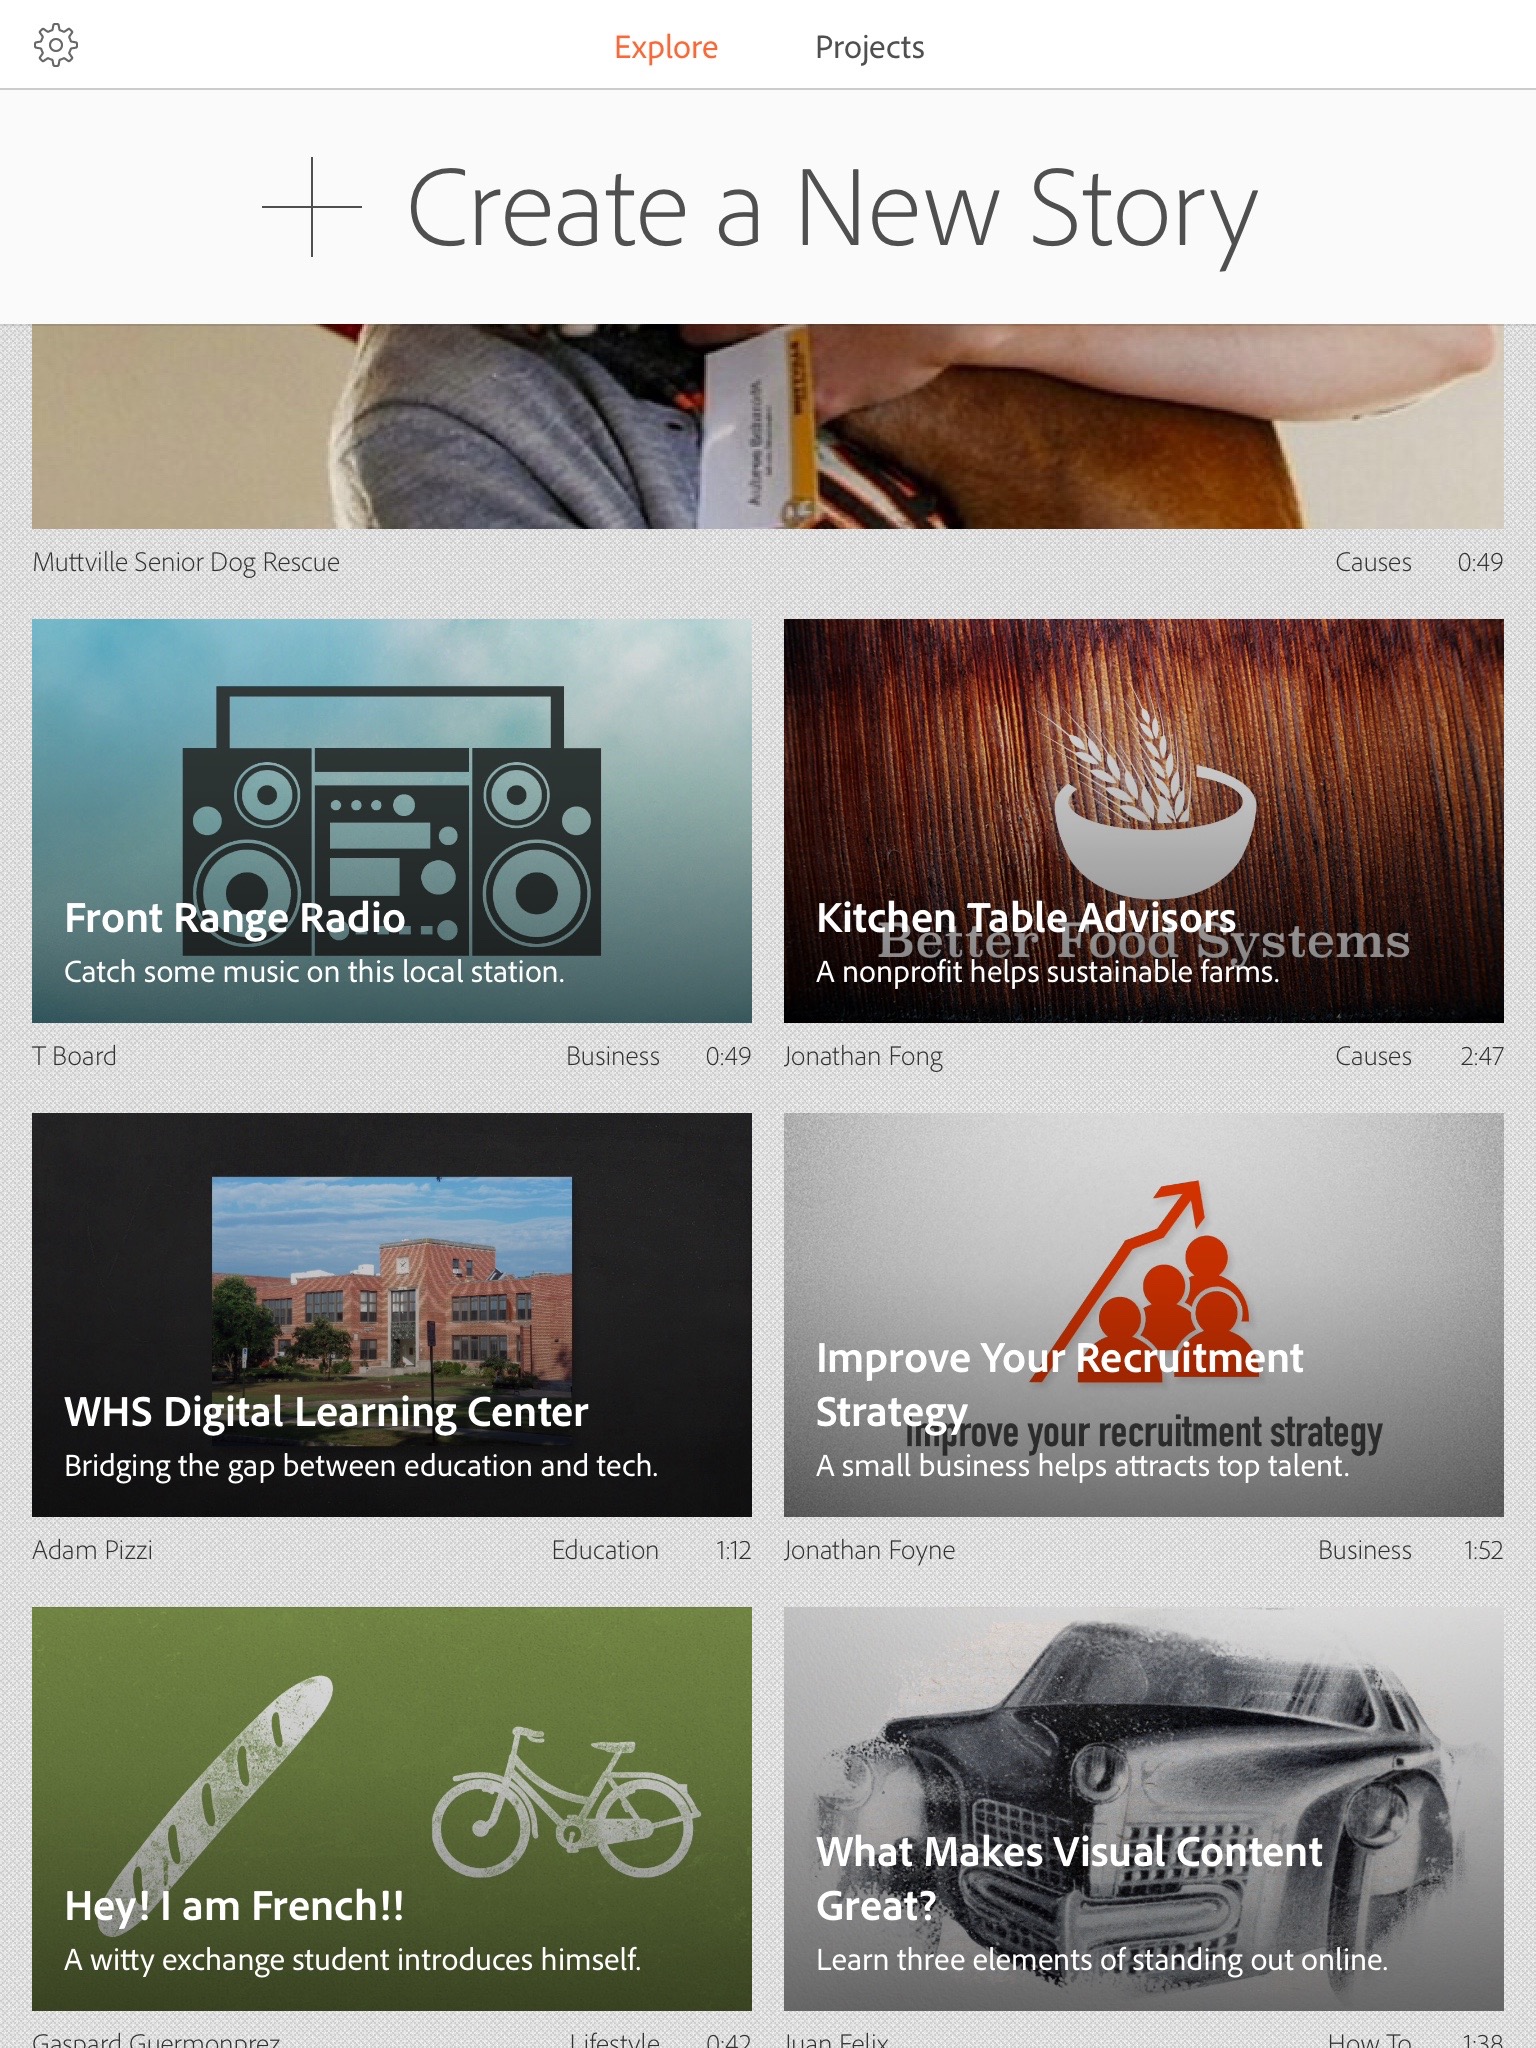
The first screen takes you to the Explore tab, located at the top of the app window. Just below this is a + sign with the text Create Your Own story. Tap this and the next window will begin to take you through the steps of creating a narrative. Depending on how creative you’re feeling, or rather how much time you have on your hands, you can either choose one of the preset templates or you can simply Make Your Own.
From here, you can add text, your own images or icons from the icons menu, provided for us by Adobe all royalty free. To search for an image within the app, simply tap ‘add photo’ and tap the search icon named Find Photos.

Tips and Tricks
Now, you can add your voice. This can act as a voiceover for either the product your selling, or what you’re presenting. Keeping sentences short and punchy to aid you in your ultimate goal of maintaining the viewers attention (we’re an impatient lot in the digital age).
There you have it – you’ve created your first page.
The app will then ask you to create further pages and to add text, voice and images or icons. Really experiment with these and think about what you want the mood of your presentation to convey.
Fun and colourful? Simple and informative?
The power is in your hands.
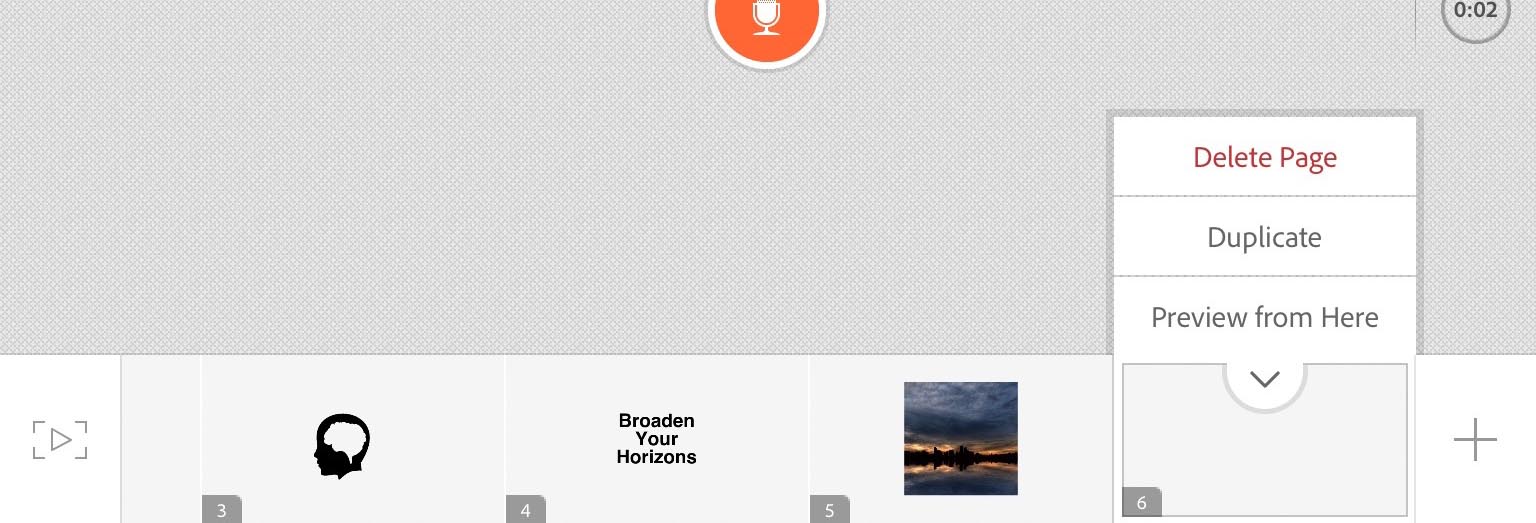
If you decide to delete a page, simply click the arrow on the page icon at the bottom of the screen. A menu displays options, click delete and tap the cross icon that pops up.
These pages act as slides in the video, therefore try and keep voice and text minimal; this will help the video flow.
Finalising and Completing
The familiar ‘Share’ button will be visible at the top right hand corner of the app. When you’re happy with your presentation, simply click this. From here, options are made available to where and on what platform you can share this on.
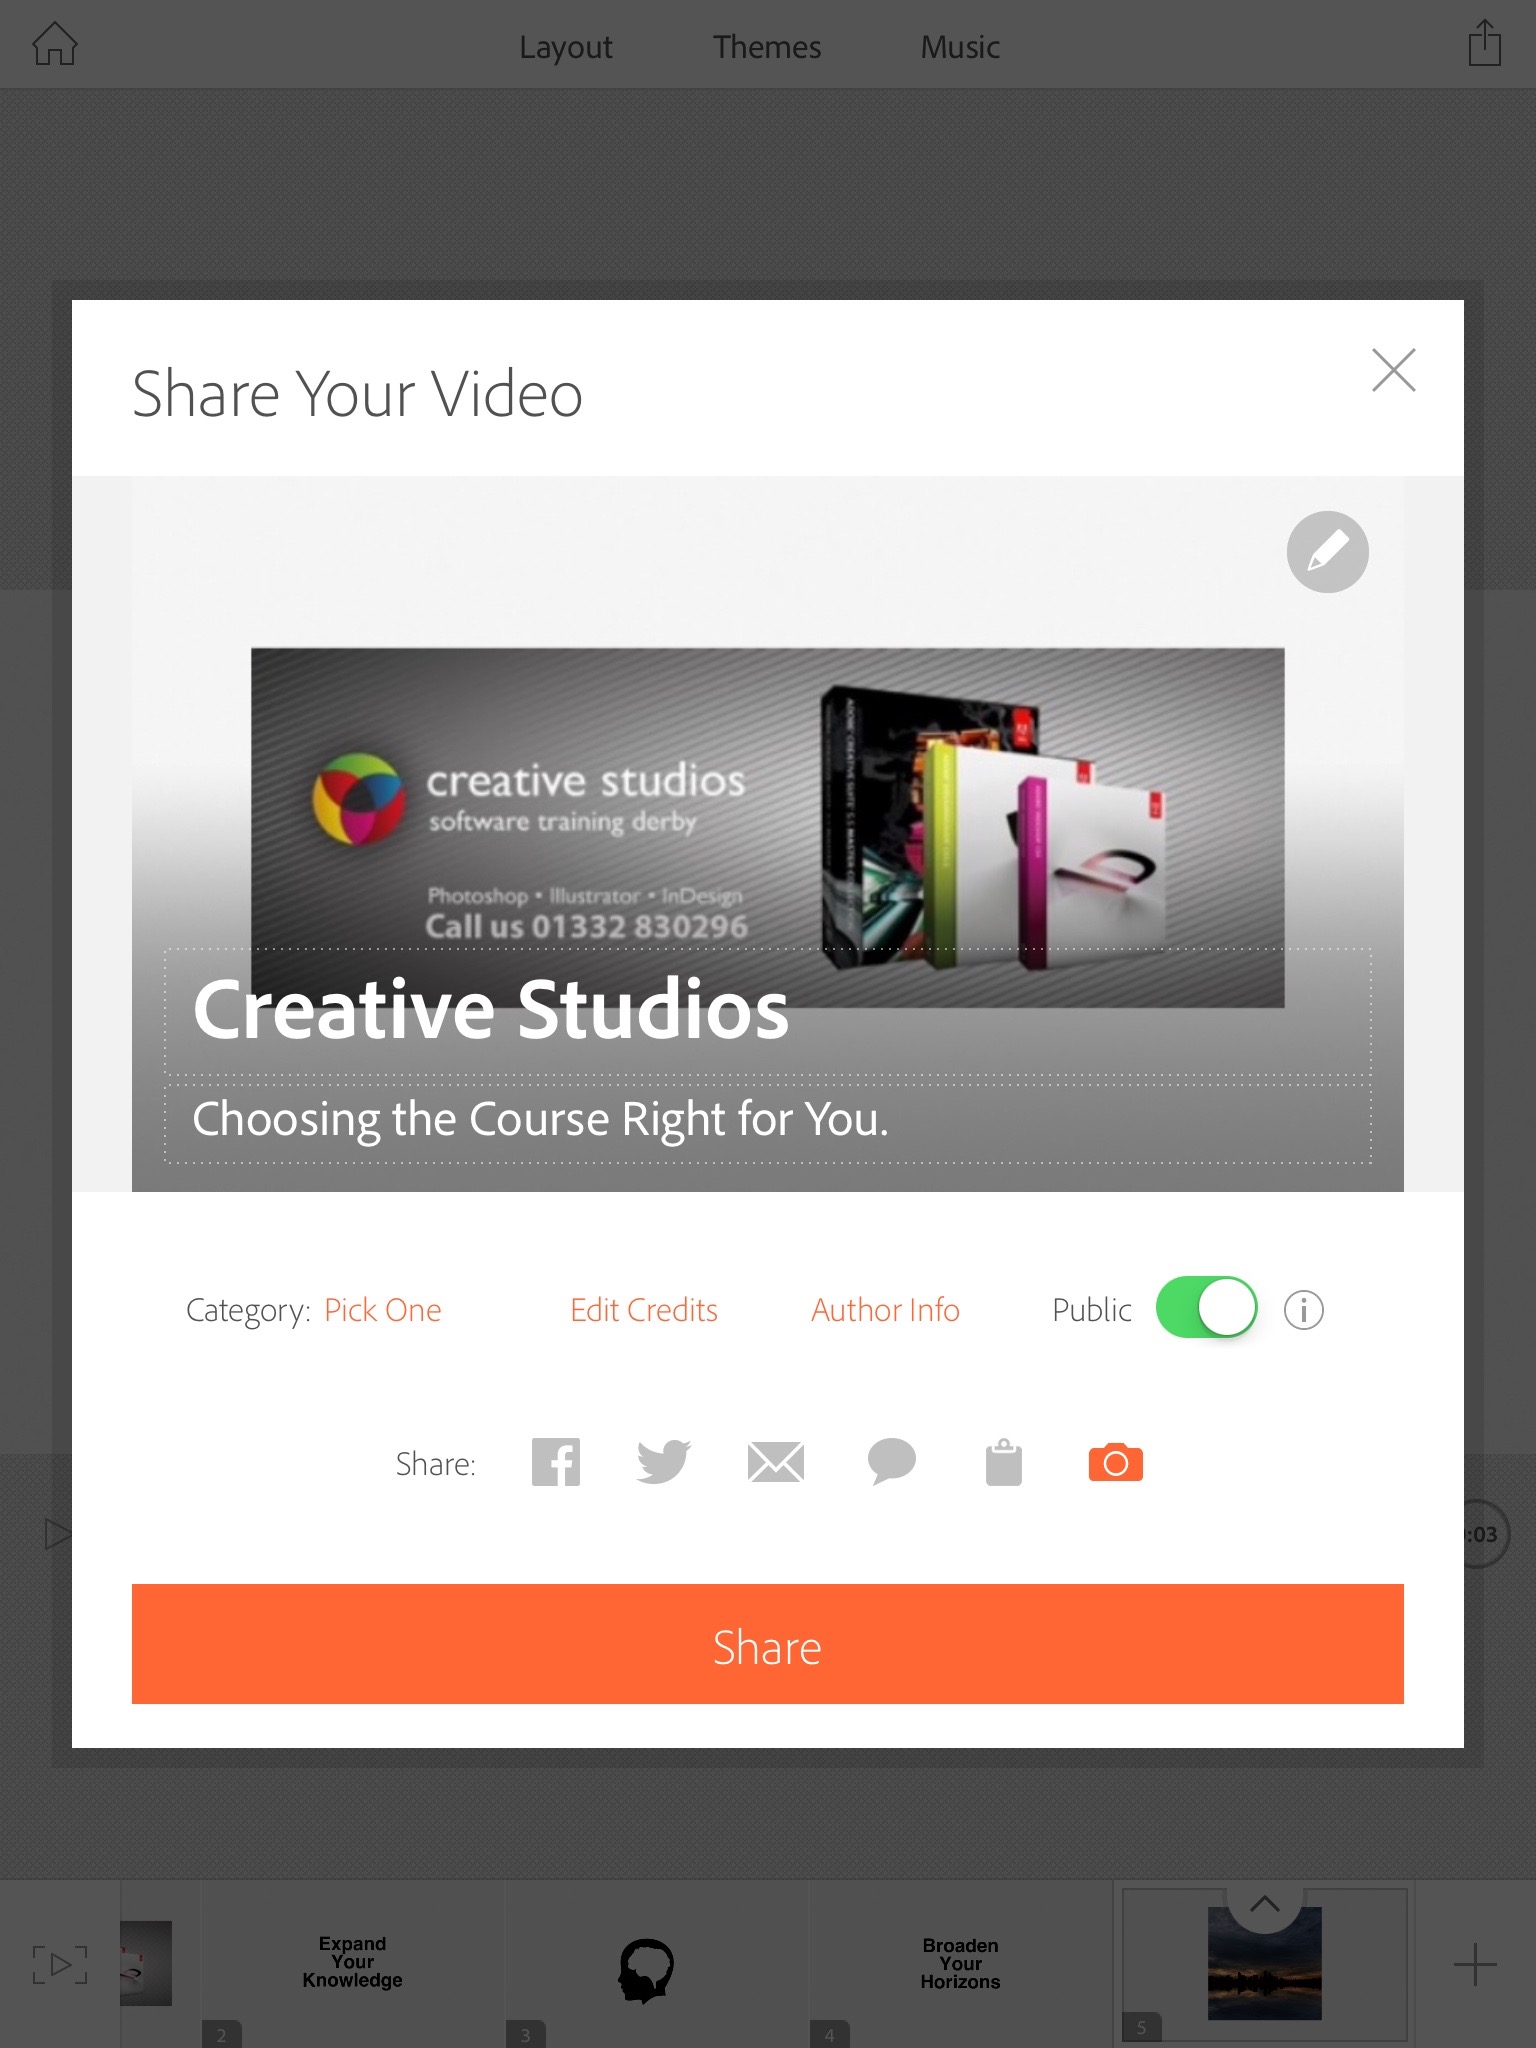
Before this step however, pick the category, add credits and icons, author info and choose whether to share publically or not, making it possible to privately share a link to your video.
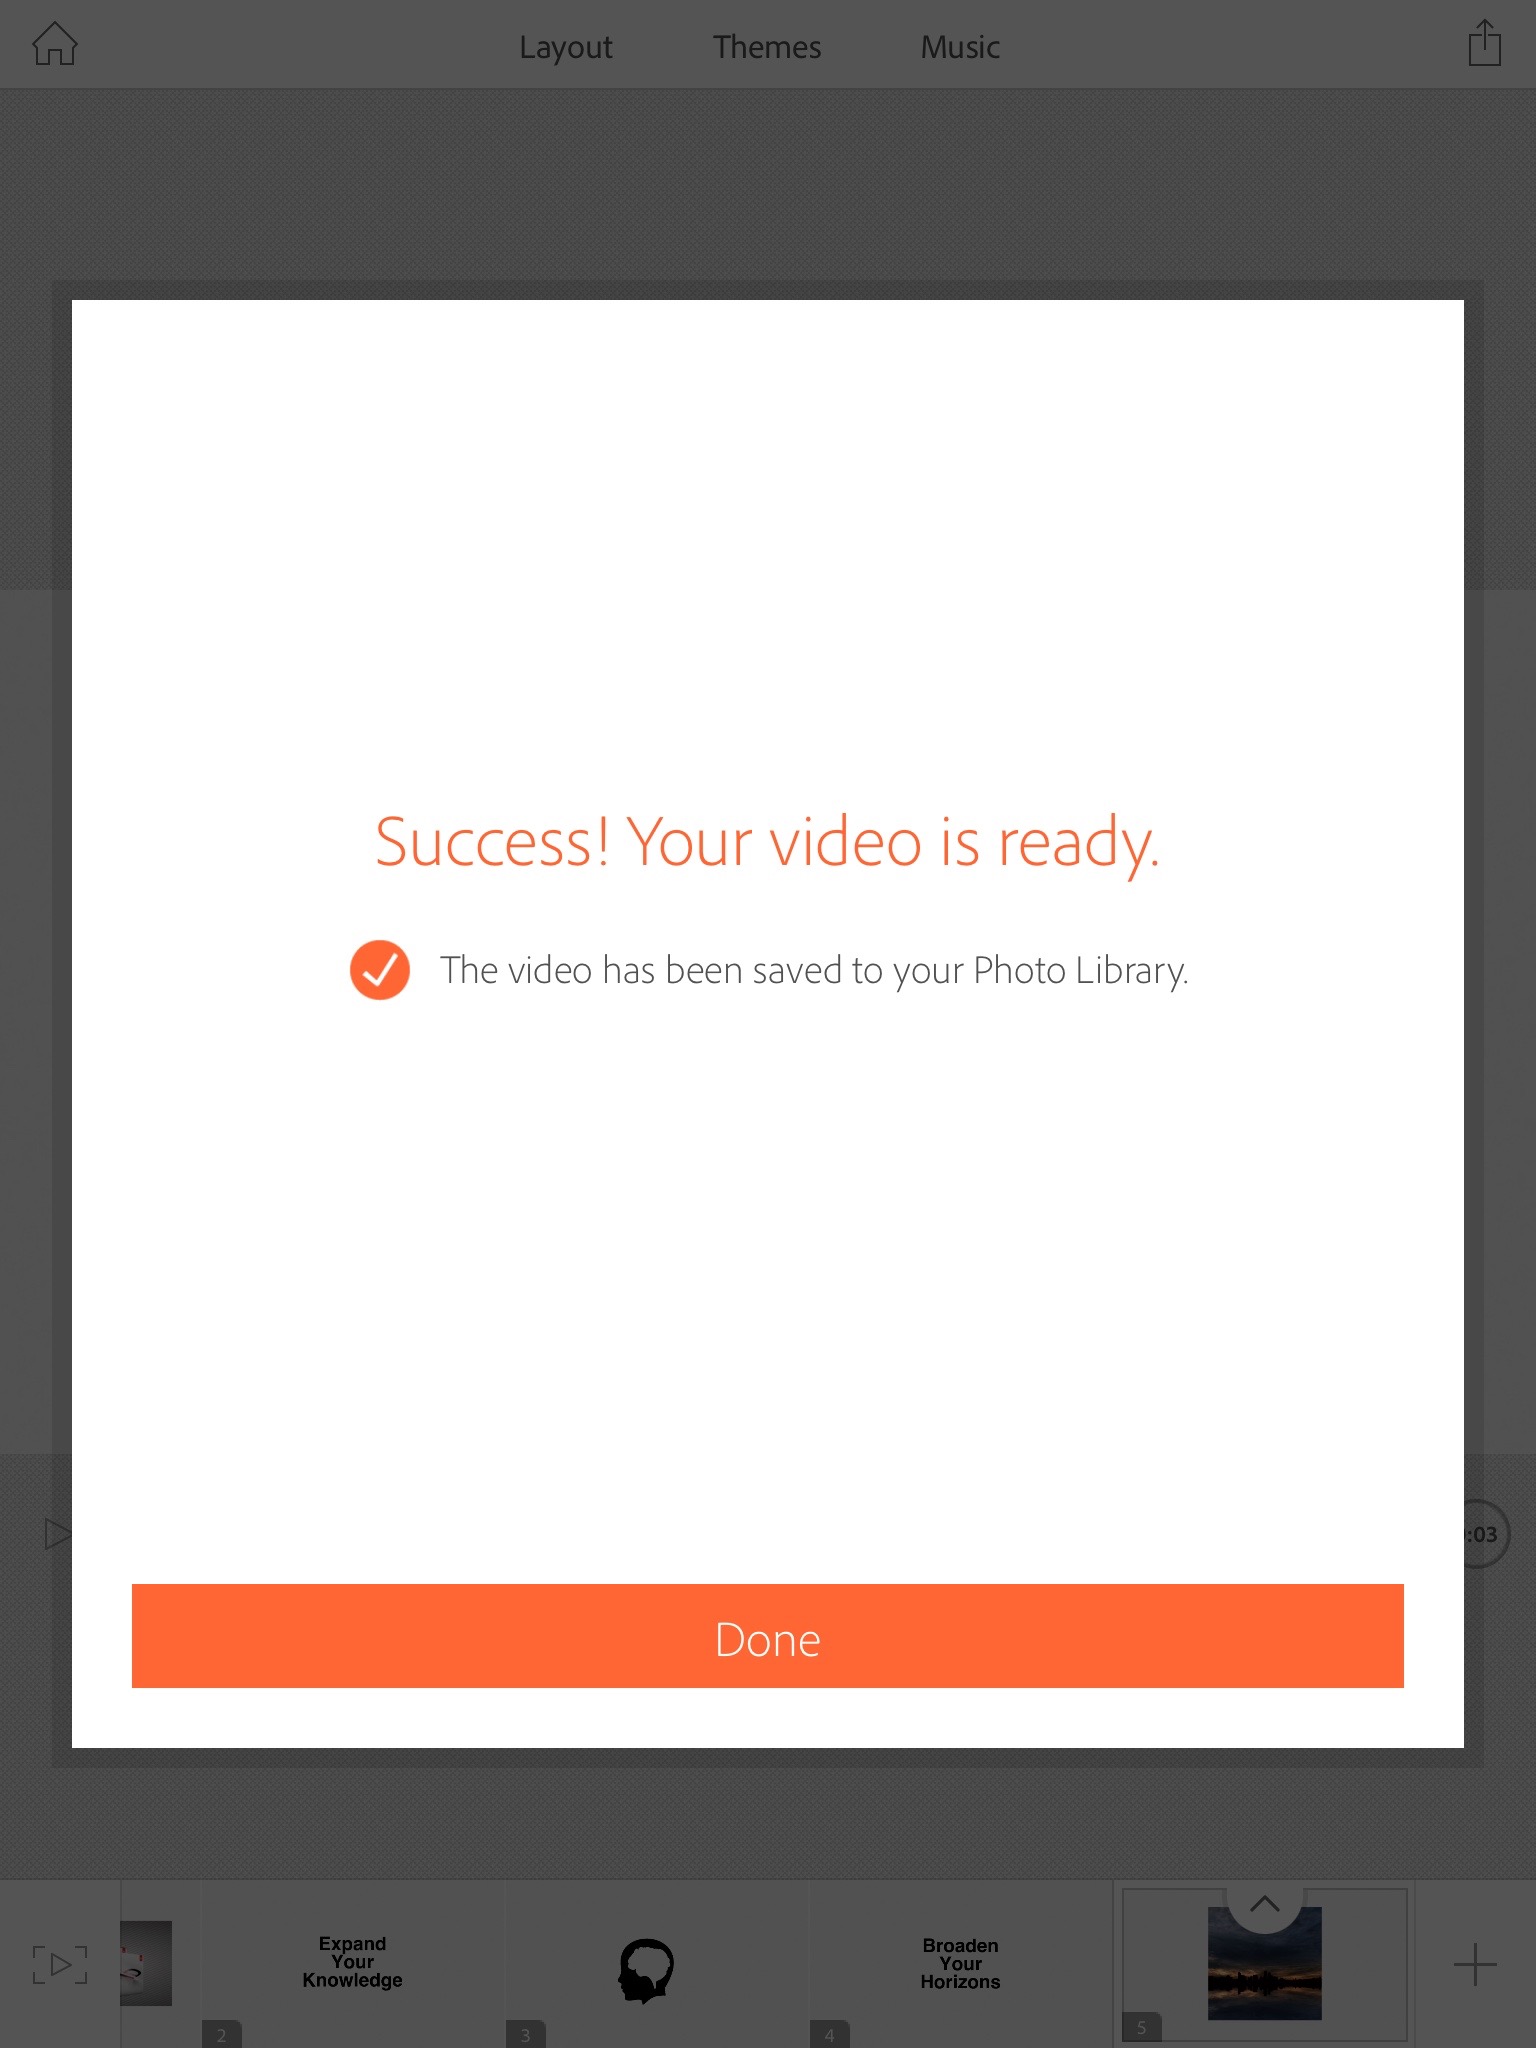
I decided to click the camera icon as to where I wanted to share it; this proceeded to save the video into my camera roll to access straight from my iPad.
So, there you have it.
Get out there and start experiment so that you can create presentations that will wow prospective clients.
Browse the image and icon categories and get creative. Its fun, it’s easy and paramount to making some work more enjoyable.
Want to learn more about Adobe products and training? We offer courses for all skill levels in Photoshop, Illustrator and more. We hold regular workshops or we can come to you – if you’re really busy we can even offer you online training.
Get in touch today on 01332 986924 or drop us a mail at info@creativestudios.co.uk